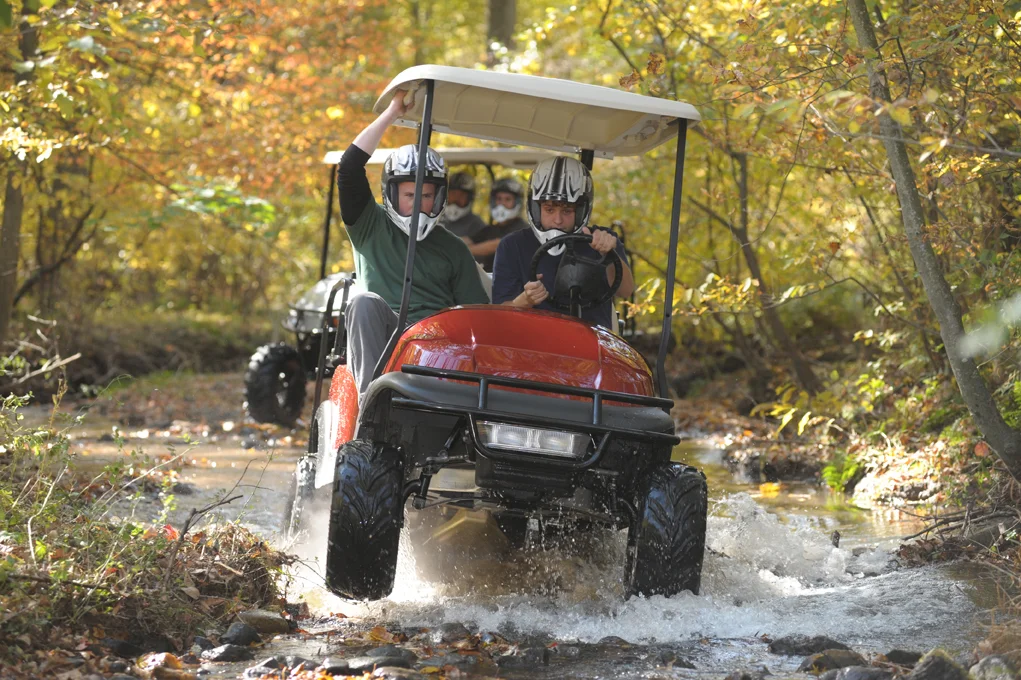
In 2010 I was asked to do a shoot for Red Hawk, a company that deals in golf cart parts and accessories. My friend Dave and I went out to do the "action shots" of the different golf carts and setups for the golf carts. The shoot took a total of about 8 hours and we shot on a farm, residential area, and a golf course. Here are a few of the shots I got for the catalog.


Import Tuner/ ScoobyWorld
Six years ago I was approached by the Art Director at Import Tuner Magazine. He had seen one of my photos and wanted to use it in an issue of Import Tuner Magazine for the Longshots section. Outside the work I was doing for the newspaper, this was the first time that a company came to me to use my photography. After the Import Tuner issue came out I was approached by ScoobyWorld to use the same photo in their product catalogue. This was a huge honor to get one of my photos printed in two separate publications.
Here's the image and tear sheets from both publications.


NFL
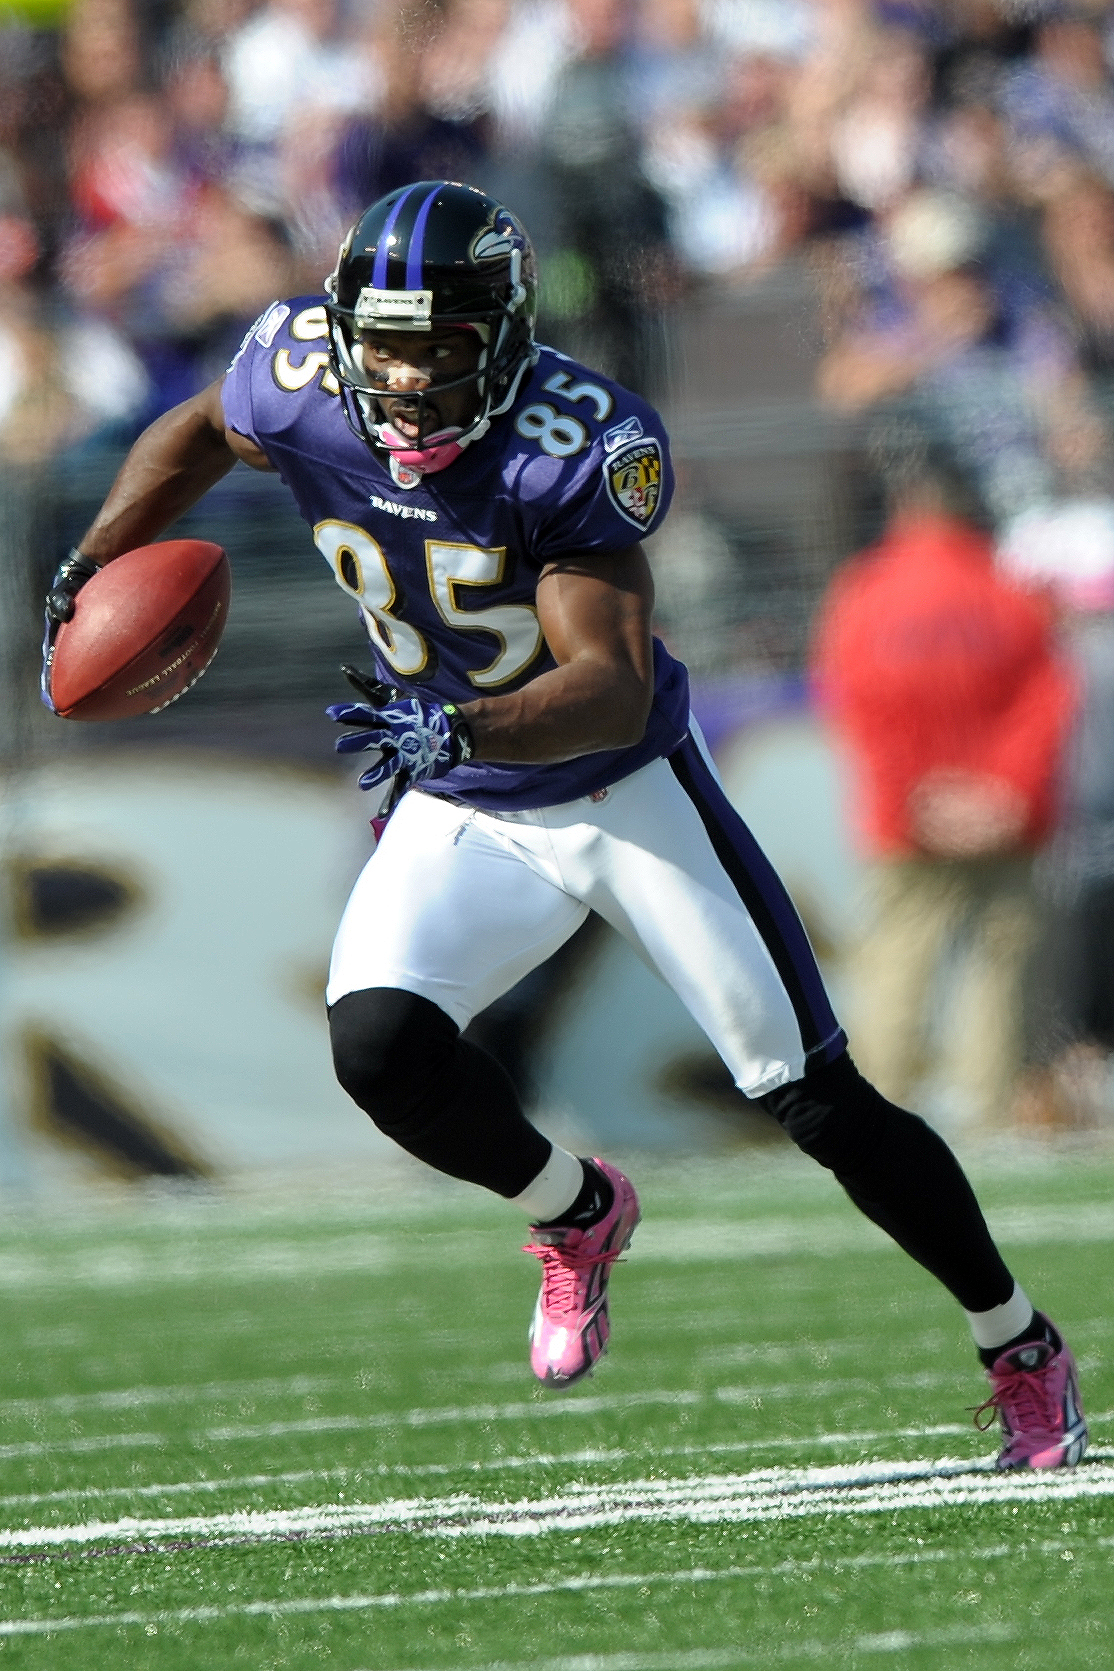
With the start of the NFL season I thought I would post a few of my favorite photos from when I covered NFL for Southcreek Global Media. I covered the Ravens in 2011 and before I shot the first game I was pretty confident I would be able to get some good photos. After all, I had been covering high school and NCAA football for a few seasons so I knew what to look for, where I got good coverage from, settings, etc.
I was dead wrong. Compared to even NCAA, NFL games are much different. All the players are bigger and much faster, the style of play is very different, and shooting in a stadium with 70000 screaming fans is a lot different than NCAA and not even comparable to a high school game.
After the first game I settled into a rhythm, got used to the speed and game play, and brought my good pair of ear plugs to the stadium. Here are a few of the photos I got while covering the NFL. I shot these with a combination of the D3, D300, 400 f2.8, 300 f2.8, 80-200 f2.8, and 28-70 f2.8.


LPGA
For several years Bulle Rock Golf Course in Havre de Grace, MD hosted the LPGA tournament and in 2008, working for The Aegis, I had the opportunity to cover the tournament. Being my first professional event I didn't really know what to expect. For the most part I shadowed the other photographers trying to figure out where they were going and what they were shooting. While I got some good shoots overall, I also ended up getting a lot of the same shots that all the other photographers got.
Here are some of the photos from the tournament. I shot these with a Nikon D2Hs and D80 and 80-200 f2.8 and 300 f2.8.


Canon Powershot G12 - Concert Photography
Last night I went and saw Chicago and Earth, Wind & Fire in concert at the local amphitheater. First off, if you're a fan of either band or just good music in general I would suggest going to see them. They are incredible musicians and sound amazing live. I wanted to take some photos at the show but the venue's policy on cameras is:
"Recording devices are permitted. however no Flash photography, video recording, or removable lens devices are permitted. Unless otherwise approved by the venue."
For those that don't know, this is a pretty standard policy when it comes to cameras at concerts. I didn't want just my iPhone to take photos because I knew it wouldn't be able to take the photos I wanted so I broke out my Canon G12 point and shoot to take to the show.
I've used it to shoot a concert before but I was right up next to the stage and the concert was outdoors in the afternoon so there was plenty of light. The show yesterday was also outdoors, but it was night time and I was about 200 feet away from the stage.
I ended up putting the G12 into Shutter Priority mode and Auto ISO (80-1600). I started out with a shutter speed of 1/80 but realized it was just maxing out the aperture because the lighting on the stage was actually really good and there was giant LED screens behind the band. I ended up shooting 1/125, Auto ISO, with the exposure compensation at -1 to try and limit the effects from the giant LED screens.
Overall I was impressed with the results I got. The G12 did a very good job choosing an exposure that didn't really over or under expose any parts of the stage and from 200 feet the autofocus performed surprisingly well.
Here are the shots straight of out camera only converted from RAW to JPG.


2008
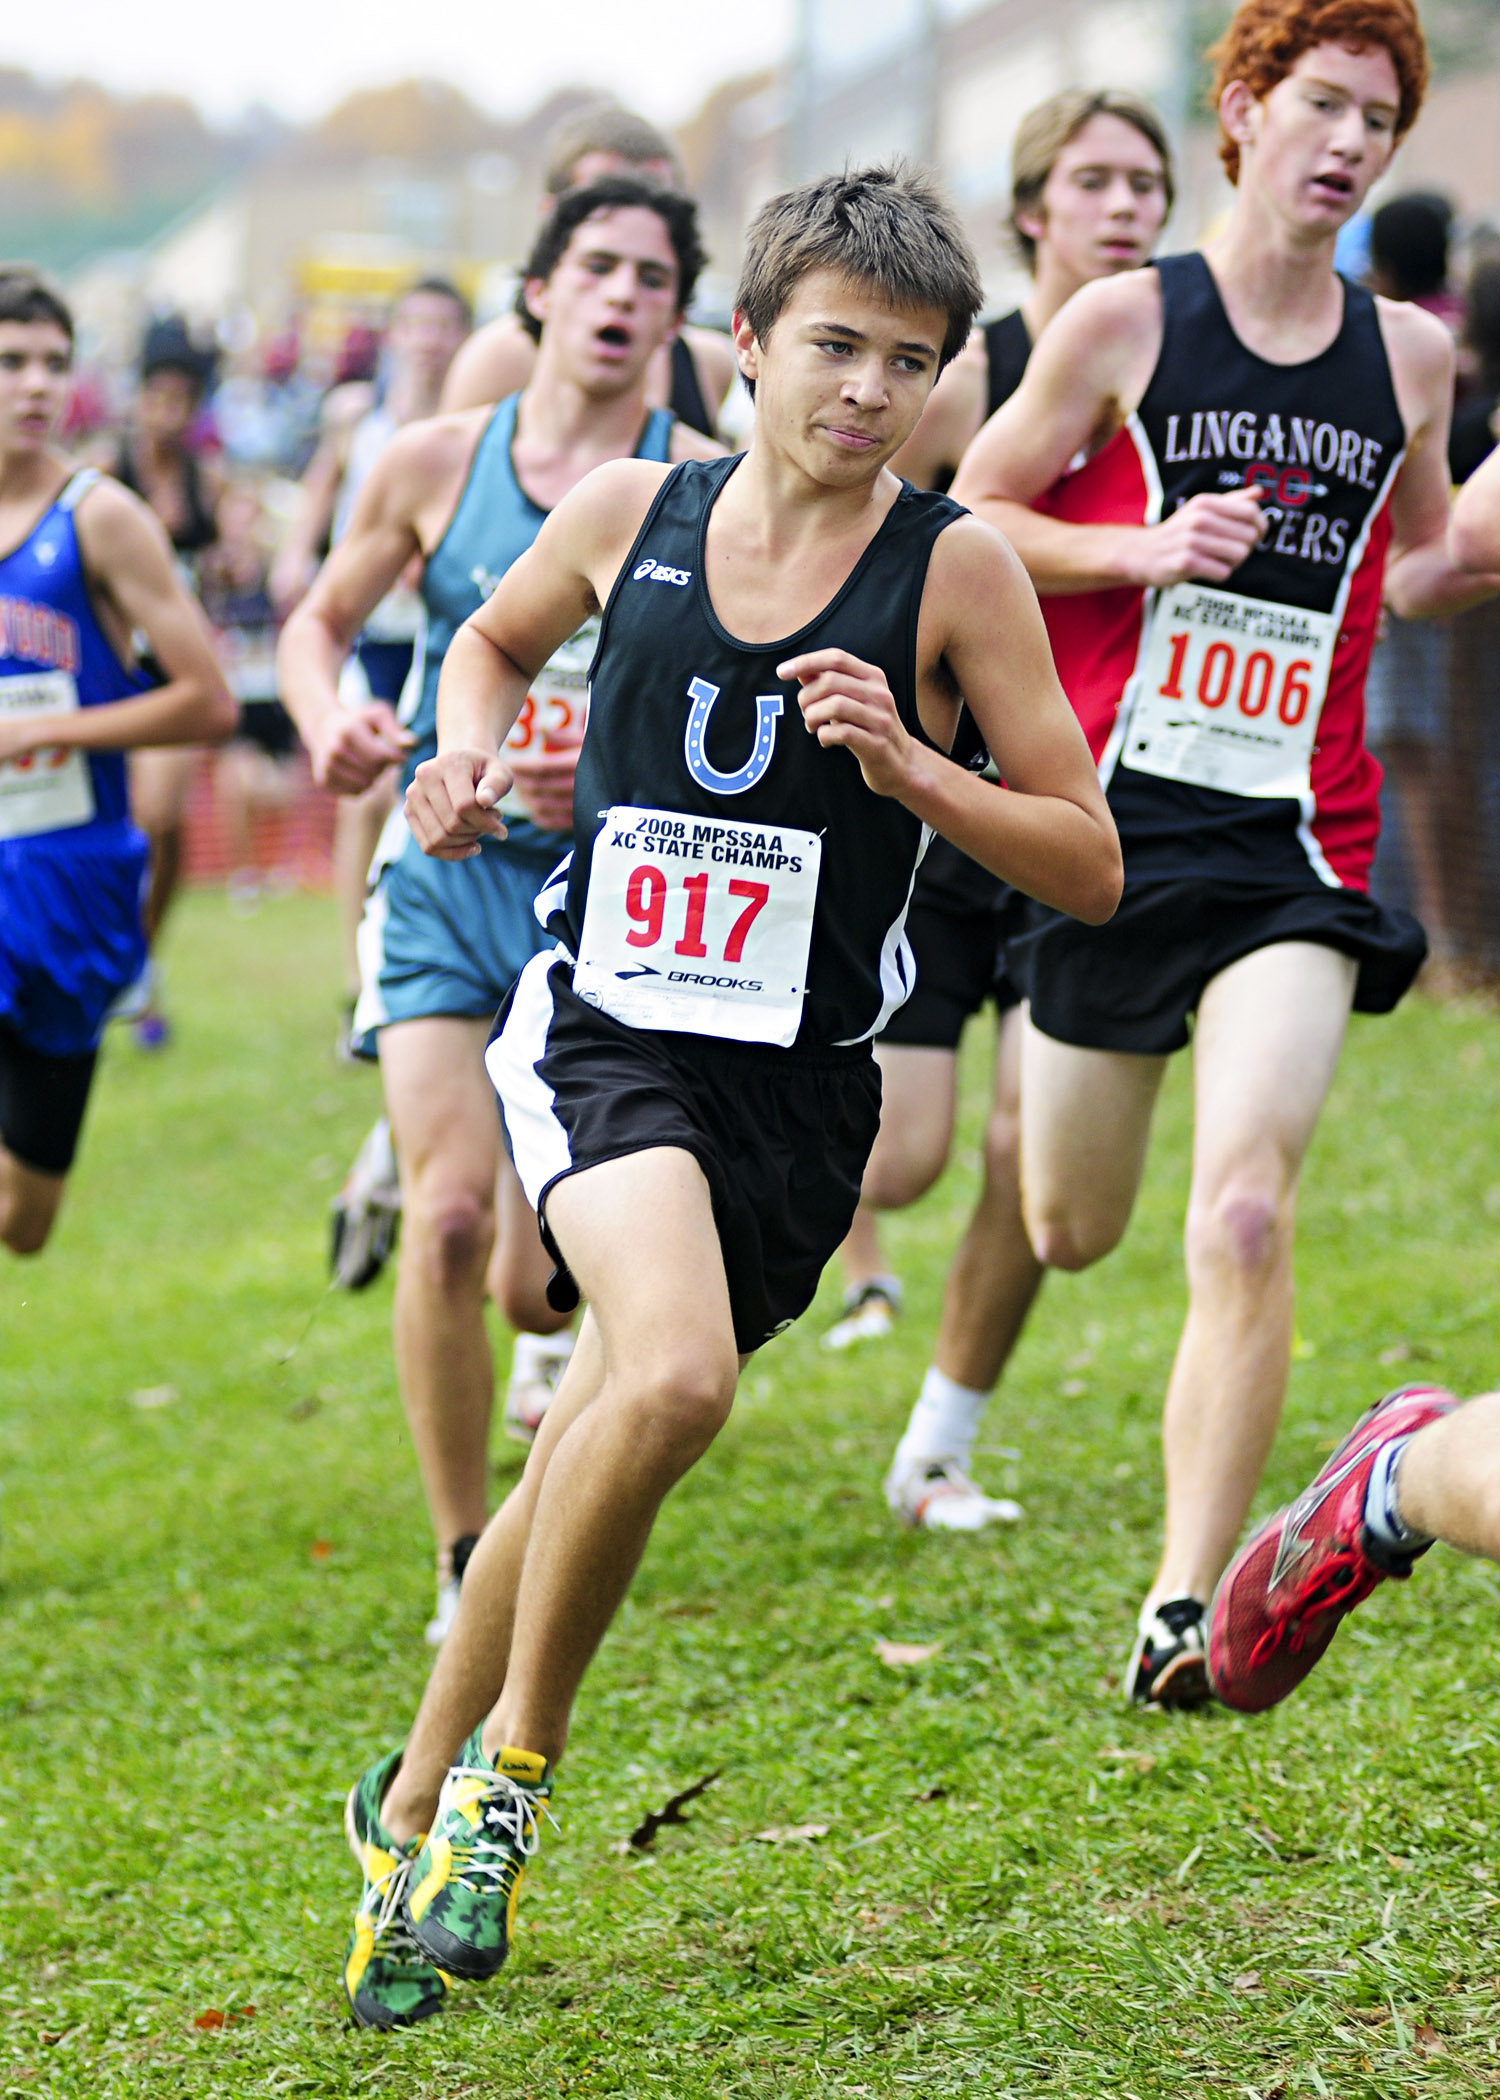
2008 was a big year for me as a photographer. I transitioned from doing mostly still life and nature photography to doing my first portrait shoot. I also bought my Nikon D300 and a 80-200 f2.8 lens. Both of which I still have and still use to this day. 2008 was also the first year I started working for The Aegis newspaper.
I bought the D300 and 80-200 because 2008 was also my first year I started shooting sports. From the moment I stepped onto the field of the first game I was instantly hooked. I knew immediately I wanted to do sports photography. Here are some photos from the first assignment I did for The Aegis newspaper.


10 Years and Running
2015 marked my 10th year of doing photography. Over the years I've shared hundreds of photos that I've done and now Im going to share the first photos I ever took with my first camera. I took these on May 4, 2005 with a Nikon D70 and 70-300 f4-5.6.


Shooting on Seamless White Background
Got the studio set up for white seamless after about a year of not doing anything with white seamless. After some trial and error trying to remember settings and placement for the lighting I had a friend come over and we did a quick shoot.
Basic setup I use is a white muslin backdrop, white tile board on the floor to create some reflections, two generic strobes to light the background and two Elinchrom D-Lite4 for key and fill light. Shot with a Nikon D3 and 28-70 f2.8, ISO 200, 1/160, f11.


Shooting With Continuous Lights
I recently picked up a set of Flolight continuous fluorescent lights mainly for doing video but I also wanted something I could use for still photography. I finally got around to doing a shoot with them last week and overall I was pretty impressed.
Due to the lights being designed for video the color temperature is very consistentwhich really helps with white balance and color rendering. The second thing I like about them is they are very easy to set up (put on stands, plug in, turn on). Also because they are continuous lights how ever you see the light in the actual scene is how the light ends up in the camera. Another bonus, because they are fluorescent, they don't get very hot. We shot for 2 hours the other day and the room did not heat very much at all due to the lights.
The one downside I found is the lights are not as powerful as my studio strobes. Since they are less powerful I had to increase the ISO to 400 and decrease the shutter speed and aperture to 1/100 and f4.5 as opposed to my normal studio settings of around ISO 200 f/160 f11.
Overall I was very impressed with performance of the lights and the quality of the light. Check out the photo below to see what I got using the Flolights.
Three FL-110HM Fluorescent Fixtures, Nikon D3, 80-200 f2.8, ISO 400, 1/100, f4.5
X-Rite Colorchecker Passport - Color Correction
Recently I was looking for a new grey card since the one I've had for a while was pretty beat up. While looking I came across the X-Rite Colorchecker Passport. When it came in the first thing I noticed was it was in a nice hard case and it really is the size of a passport so it will fit into any bag easily and you don’t have to worry about it getting destroyed.
Let me start by saying I always shoot RAW (as opposed to JPG). This allows me to easily make corrections in post production (WB, exposure, color, etc). I highly suggest anyone that is serious about photography shoot in RAW format because of the capability and control you have over the photos in post.
The cool thing with the Colorchecker Passport is it has two functions. The first function is a grey card. You can either us it to set a preset in your camera (which is what I prefer to do) or you can take a photo of the grey card wherever you will be shooting and correct the white balance in post. Now when I go to shoot after I set a preset white balance using the grey card I always take a photo of the grey card as well just in case something happens and my white balance settings change I always have a backup way to set the white balance.
The second function of the Colorchecker Passport is the color correction side. Basically once you have your camera and lighting all set up (correct exposure, lighting how you want it, etc) all you have to do is put the Colorchecker Passport in the scene and take a photo of it. Personally I always take one or two photos in the scene and if Im photographing a person I take one or two more of them holding it next to their face.
After you have photos of the Colorchecker Passport in the scene taken with correct exposure and the same lighting you just continue to shoot how you normally do. If you make any major changes to the lighting or if you change scenes pull out the Colorchecker Passport and shoot a few more test shots.
The way the test shots work is using the X-Rite plugin in Lightroom it analyzes the color chips on the Colorchecker Passport in the test photo and it creates a color profile that will make the colors in your photo be accurate to what they should be.
Overall if you're looking for a way to speed up your workflow when it comes to color correction definitely check this out.
Virginia Sunset
Went down to the beach tonight to do a time lapse of the sunset. Unfortunately I didn't get the timing for the sunset correct (stay tuned for take two) but I got some pretty cool stills just after sunset of the ocean with the Chesapeake Bay Bridge in the background.
Another bonus was there was a pretty big lightning storm going on a few miles away and I tried to get a couple photos of the lightning. I've never had much luck shooting lightning because of my terrible timing but I managed to get one pretty cool shot.


What's In My Bags?
I always get asked the question "What bag should I get?" or "What do you carry your gear in?" The bottom line that you want to remember when choosing a bag is will the bag you choose last you a while and Im not just talking about quality.
Obviously quality is important, you don't want a bag that is going to fall apart on you after a few uses. You also want a bag that will allow you to expand with you. What I mean by that is you want a bag that will allow you to hold all your gear as you get more gear over the years.
If you're starting out and you only have a camera body and one lens you might be tempted to buy a bag that holds just your body and lens. The problem with that is, when you expand and get another lens or a speed light you don't have any place to put them in your bag and now have to get a new one.
If you buy a bag that might be bigger than what you need currently you will have to room to expand as you get more gear and you wont end up with a stack of small bags just laying around collecting dust.
I currently use a Think Tank Photo Airport International v2.0 as my main bag. The belt pack consists of a:
-Think Tank Pro Speed Belt
-Lens Changer 75 Pop Down
-Lens Changer 35 V2.0
-Hubba Hubba Hiney
-Skin Chimp Cage
If you want to check out Think Tank Photo bags go to

Lens Review: Nikon 300 f4 AF ED-IF
Going a little old school I picked up a Nikon 300 f4 AF ED-IF lens from www.keh.com. My initial impression of the lens is it's smaller than I imagined it would me. I was expecting the length and weight however it is about the same diameter as an 80-200 f2.8 which is not what I was expecting.
HANDLING:
When mounted to the camera it feels pretty well balanced. Its got a good size and weight that wouldn't be too terrible if you had to walk around with it all day. Its comfortable to hold and if you were going to shoot in manual the ring is easy to get to.
PERFORMANCE:
The lens overall is sharp and has good color. At f4 it appears to be a little soft but its still very sharp. Once you get to f8 it's very sharp and has a noticeable increase in sharpness. From f8 to f32 there isn't much difference that I can tell in the sharpness. The bokeh at f4 is very smooth and provides very good separation between your subject and the background. The smooth bokeh is similar between f4 and f11, after f11 it starts to taper off but its still nice and smooth up to f32 and still provides decent separation. Color is something I was very impressed with. All the colors were bright, accurate, and stood out when looking at them in Lightroom and where accurate to the actual scene. AF speed and accuracy was very comparable to the 80-200 f2.8 AF. When focusing at different distances the lens snapped right into focus without any hesitation. While I haven't tried using the continuous auto focus I would imagine it would be similar to the 80-200 f2.8 AF.
CONCLUSION:
If you're looking for a 300 f4 and don't have the budget for the AF-S f4 or AF-S f2.8 or aren't planning on using this for a full time sports lens, the 300 f4 AF ED-IF would make a good alternative. In the used market in good condition they are currently running about half the price of a new AF-S f4.
Check out the following photos for a comparison at f4, f8, f11, f16, f22, and f32.


YouTube Channel
The new Russell Tracy Photography YouTube Channel is up and running. Im going to be posting tutorials, gear reviews, quick tips, behind the scenes video, and tons of other stuff on there. Im currently working on a couple videos so stay tuned for them to get posted.
If you have any suggestions for videos feel free to leave a comment or send me a message on Facebook. Subscribe to my YouTube channel by clicking here.